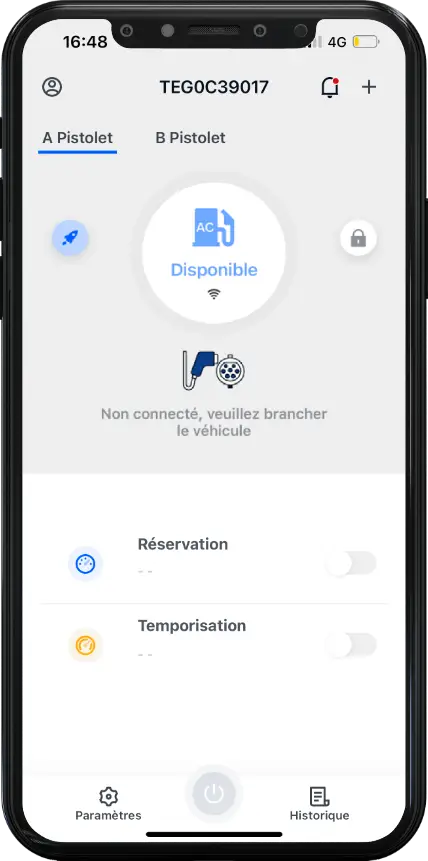
Presentation #
Wellborne Plus, specially designed to simplify the management of your charging station via a streamlined dashboard, offers a multitude of functions:
- Access your terminal’s advanced settings locally in just a few clicks, thanks to your mobile application.
- Program and modulate your charging sessions: instantaneous, deferred, or during periods with preferential rates.
- Optimize charging power according to your installation, whether :
- a limited electricity subscription,
- a photovoltaic system,
- or a multi-pin charging hub.
By installing our optional accessories and simplifying their configuration via the application, you can set up load shedding to prevent overloads.
Advanced features :
- Estimate costs based on load periods.
- Control access to your terminal.
- View and export your load reports at the click of a button.
- Update your terminal remotely.
Extended compatibility:
Wellborne Plus is compatible with all Wellborne products and communicating charging stations via the OCPP 1.6 protocol (an upgrade to OCPP 2.0 is planned for 2025).
With Wellborne Plus, you can manage your refills easily and efficiently, whether at home or at work!
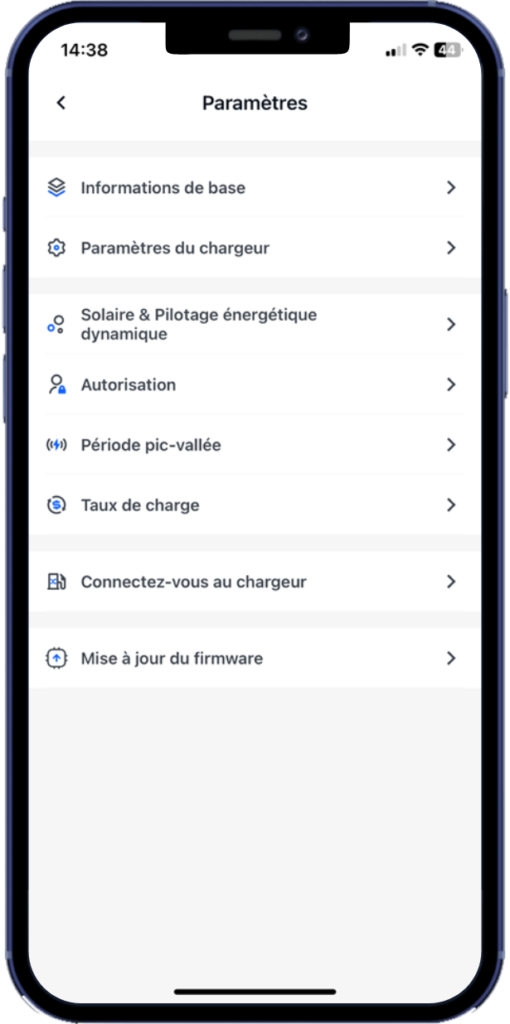
Parameters #
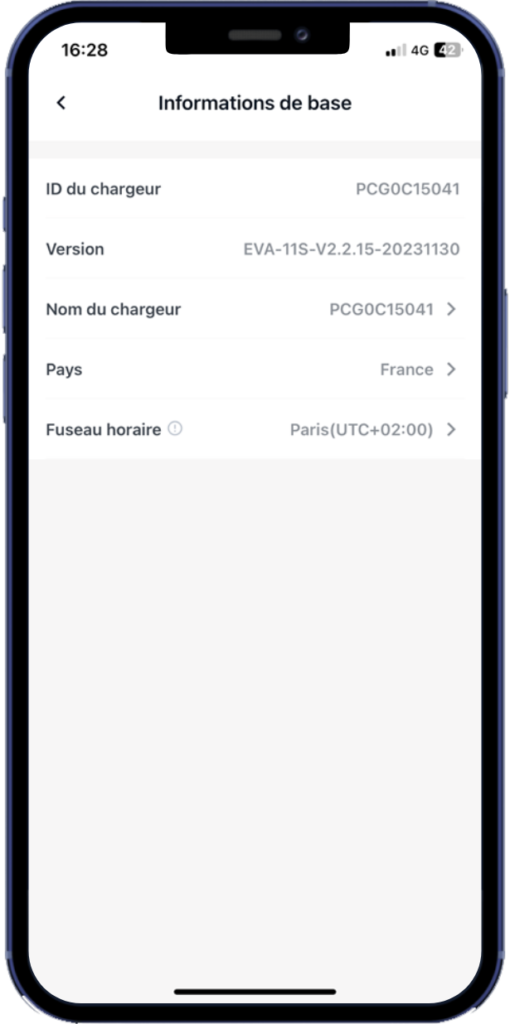
Basic information #
Check the serial number, the current firmware version of the terminal, and change the name, time zone and country of the installation.
- Charger ID: unique ID of the charger, corresponds to the serial number indicated on the technical plate glued to the side of Wellborne terminals and stations.
- Version (firmware) : Software version of the current terminal.
- Charger name: Alias or name of the terminal that can be modified to make it easier to find.
- Country: Country where the terminal is installed.
- Time Zone: Time zone adjustable according to terminal geolocation.
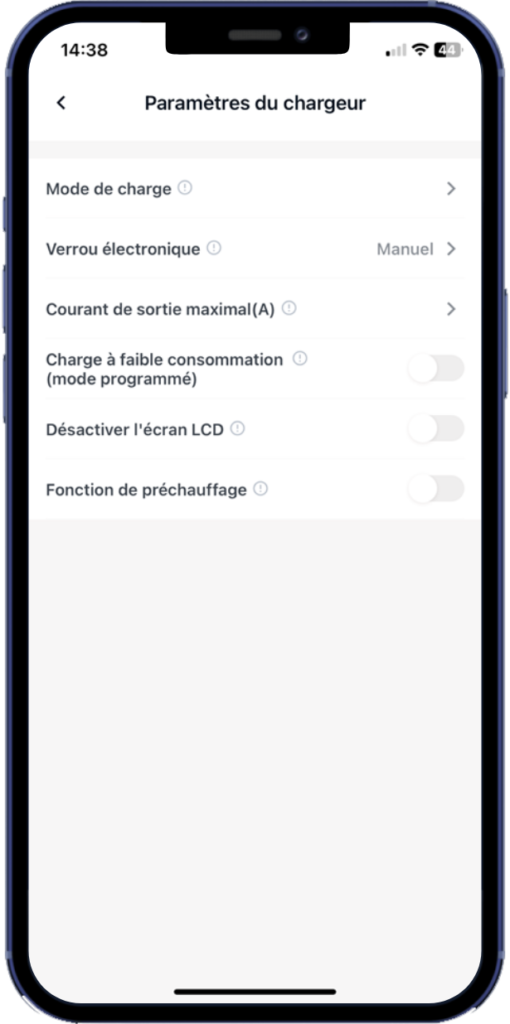
Charger settings #
View and modify the charging mode, plug lock mode, maximum output current and activate/deactivate the low-power charging function, LCD backlight or preheating function.
- Charging mode: The charging mode corresponds to the type of access control defined for using the terminal.
- APP: Use the kiosk via the kiosk operator’s application (default: WBCharge PLUS) or via RFID card ‘whitelisted’ by the operator.
- RFID: Use the terminal only with the RFID badges supplied with Wellborne terminals.
-
PLUG & CHARGE: Use the terminal freely without access control.
- Electronic lock: The charging mode corresponds to the type of access control defined for use of the terminal.
-
Manual: This mode enables manual unlocking of the T2-T2 cable at the end of charging. Activating this Manual mode will lock the cable on the terminal side from the moment the charging session is started, until the ‘Unlock’ button on the APP is pressed.
-
Automatic: This mode automatically locks and unlocks the T2-T2 cable as soon as the vehicle is plugged in, before and after the start of the charging session.
-
Maximum output current (A): View and modify the charging current value per phase (MDP: 1234).
-
Low-power charging (programmed mode): Activating this function keeps the vehicle charged with low power to prevent it from going into standby mode.
-
Disable LCD: Activating this function puts the LCD screen to sleep.
-
Pre-glow function: Activating this function allows the vehicle to continue charging when it’s full and in pre-glow or other active states that consume battery energy while it’s still plugged in.
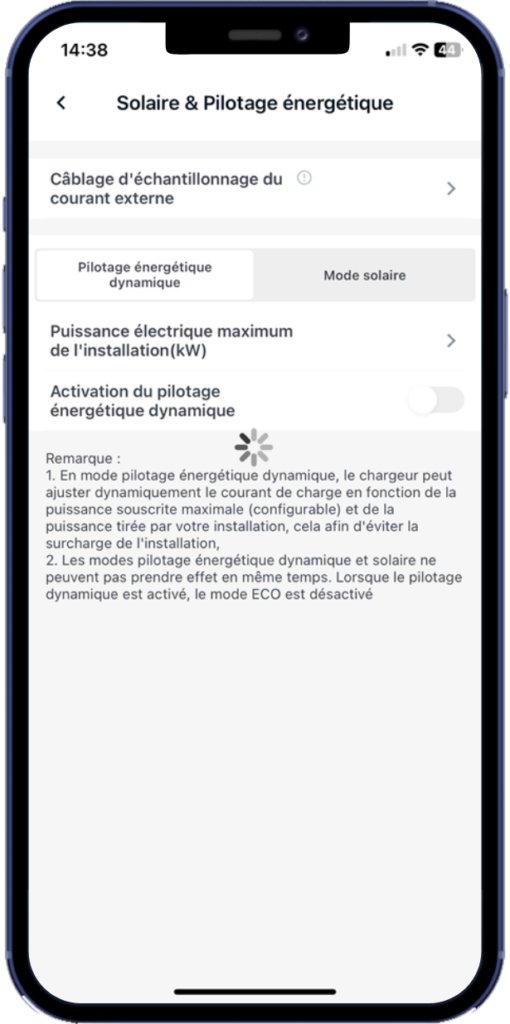
Solar & energy management #
Activate, consult and modify the parameters of the system’s accessories and electrical information to set up dynamic energy control based on the grid and/or a photovoltaic panel installation.
- External current sampling wiring: Consult and/or select the type of accessory installed to enable external current sampling and thus the terminal’s dynamic energy control function.
- Dynamic energy management :
- Maximum electrical power of system (kW): Enter the maximum electrical power of the system.
- Activate dynamic energy control : Activating this function enables dynamic energy control of the bollard (accessory required).
-
Solar mode :
- Fast: Default mode for fastest charging.
- ECO : Hybrid mode allowing first consumption of energy generated by a photovoltaic system, then complete with energy from the grid.
- ECO +: Exclusive solar mode that only consumes the excess solar energy available.
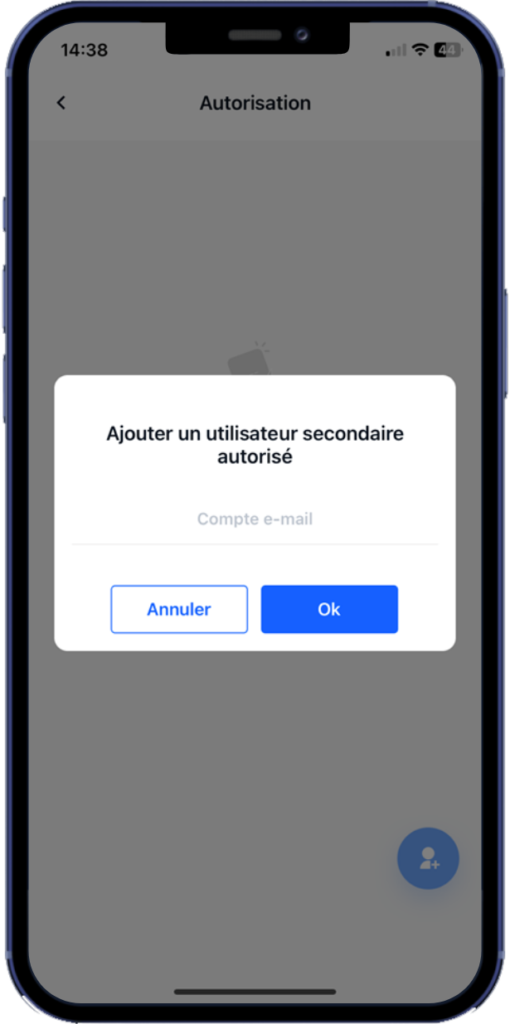
Authorization #
Add and manage secondary users authorized to access and recharge from the selected terminal.
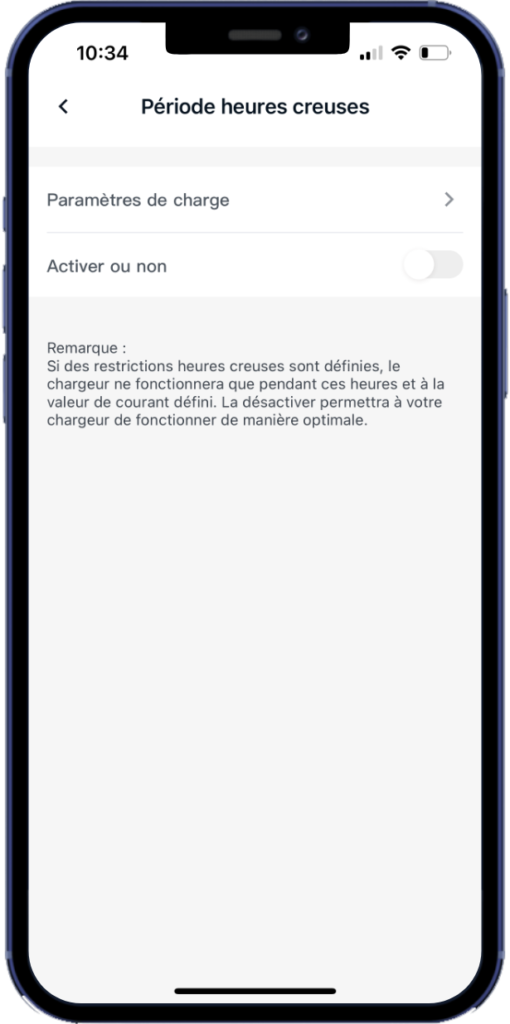
Off-peak period #
Activate, view and set off-peak times and the desired intensity for these periods.
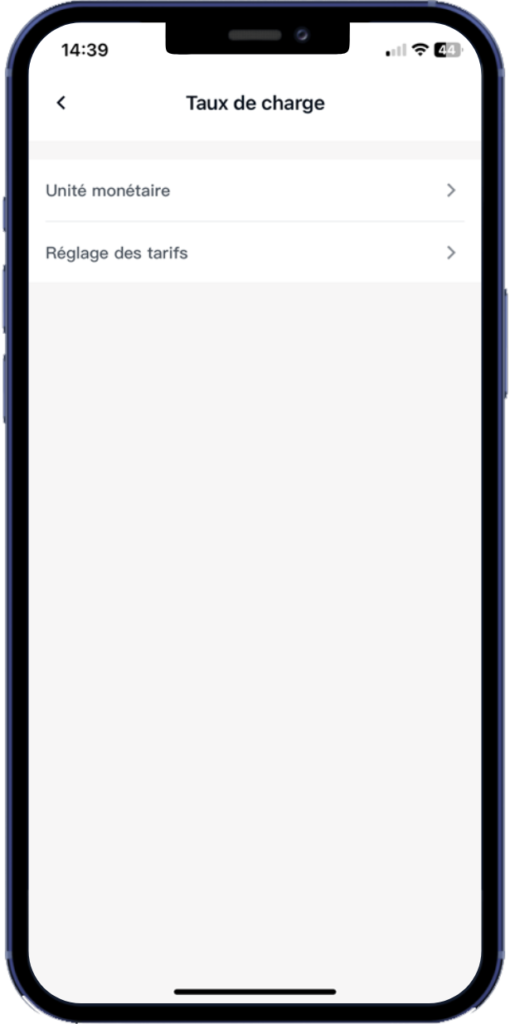
Load rate #
View and modify charging rates for different time slots.
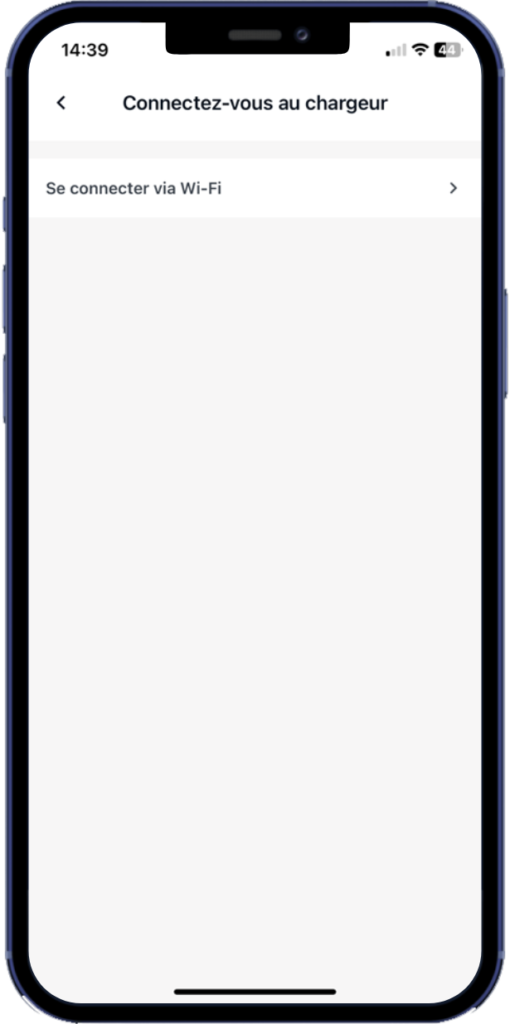
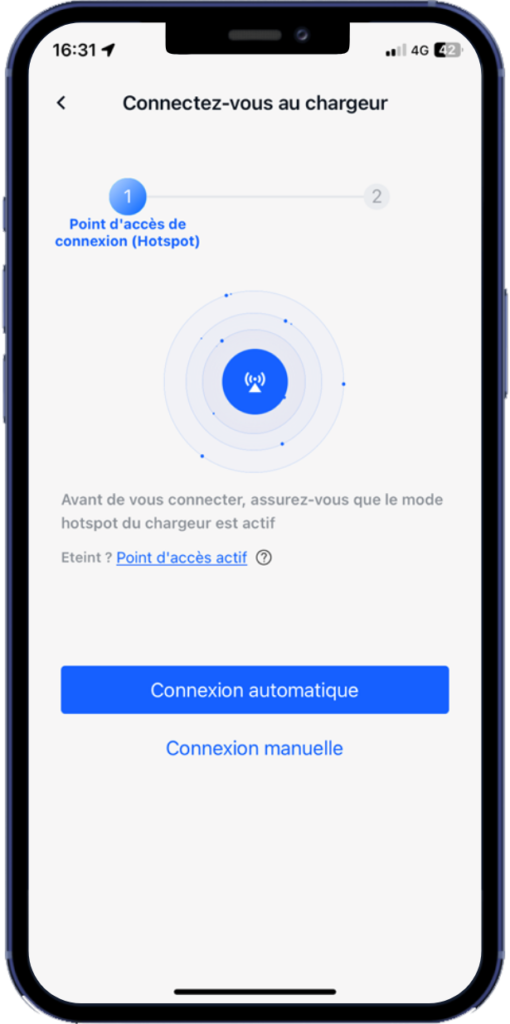
Connect to the charger (hotspot connection) #
Connect the terminal to the application via hotspot signal to view and modify the various parameters of the selected terminal.
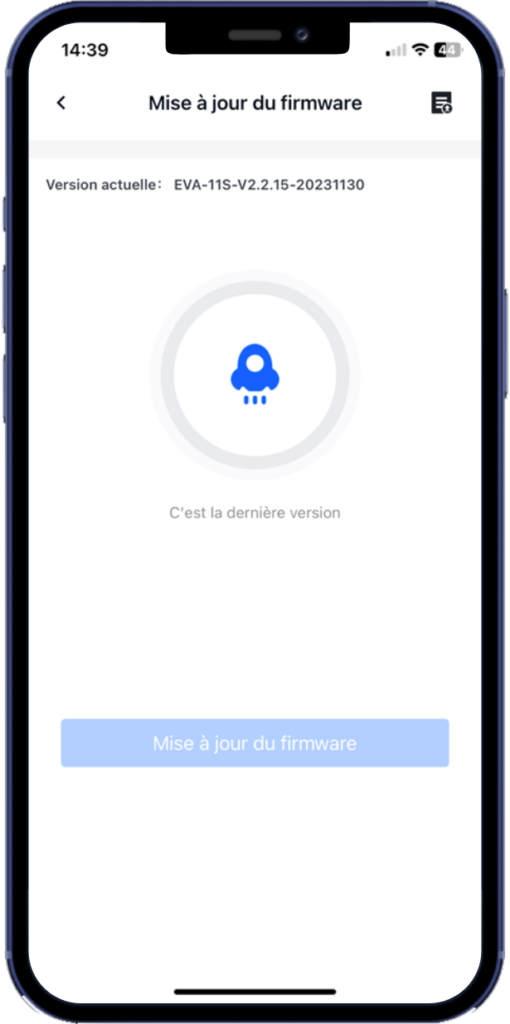
Firmware update #
Consult the software version history and update the terminal remotely.
Migrating your terminal to Wellborne Plus #
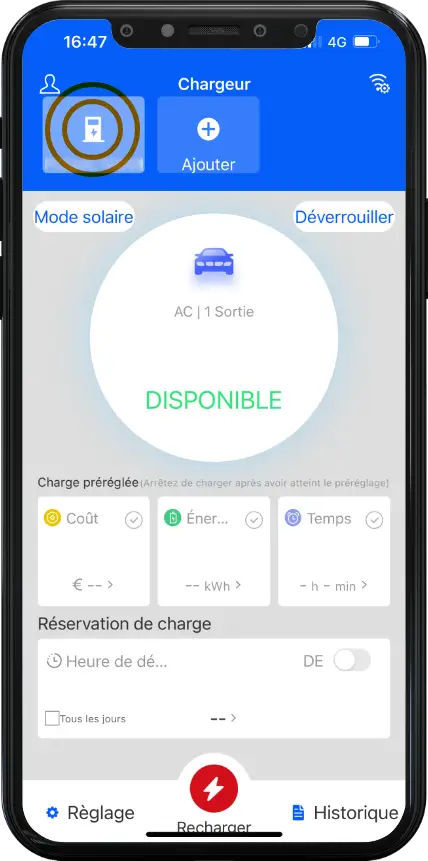
The following migration procedure only concerns terminals that are already online and appear as AVAILABLE in your WB Charge application.
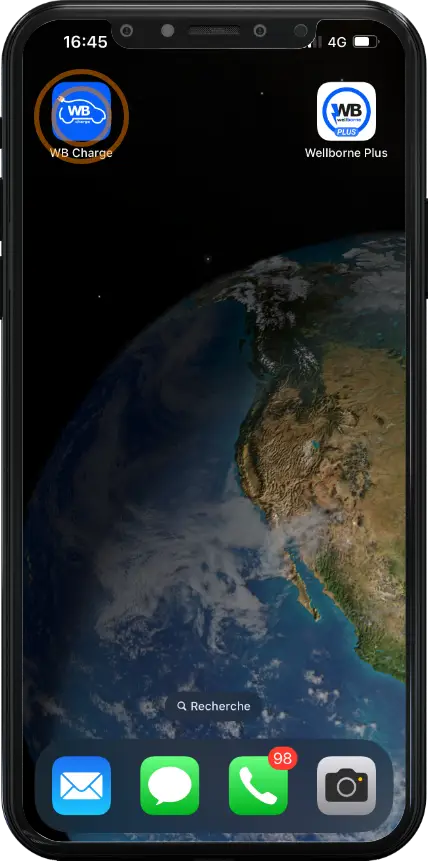
- Open the WB Charge application.
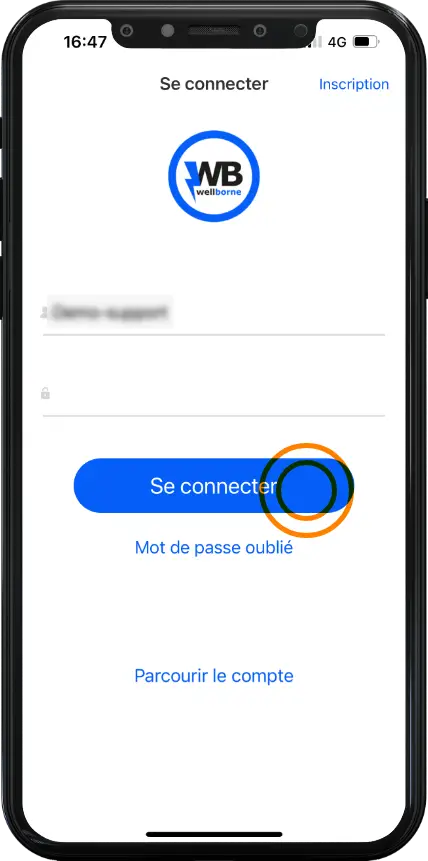
- Log in to your WB Charge account.
- Select the terminal you wish to migrate to Wellborne Plus.
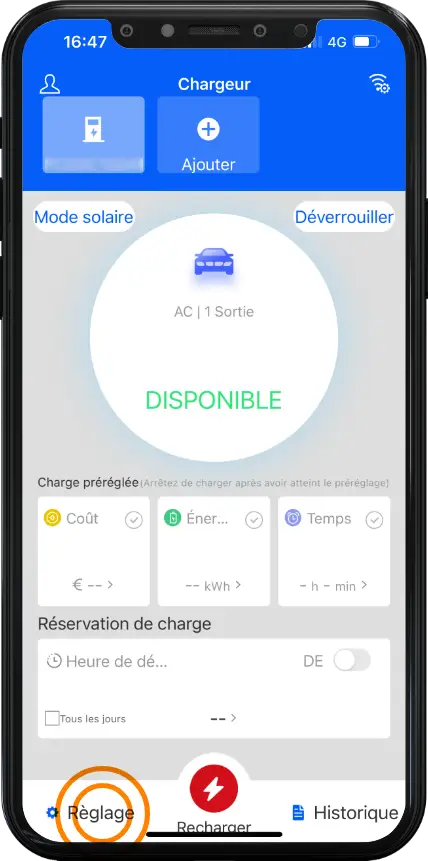
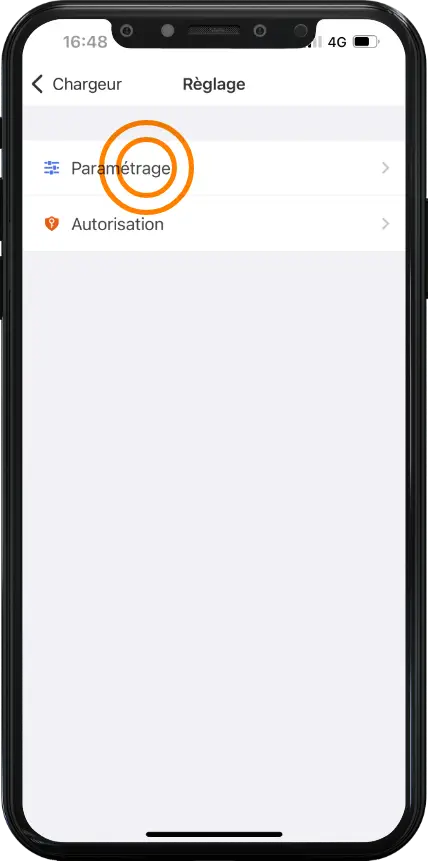
- Go to “Settings”.
- Go to “Settings”.
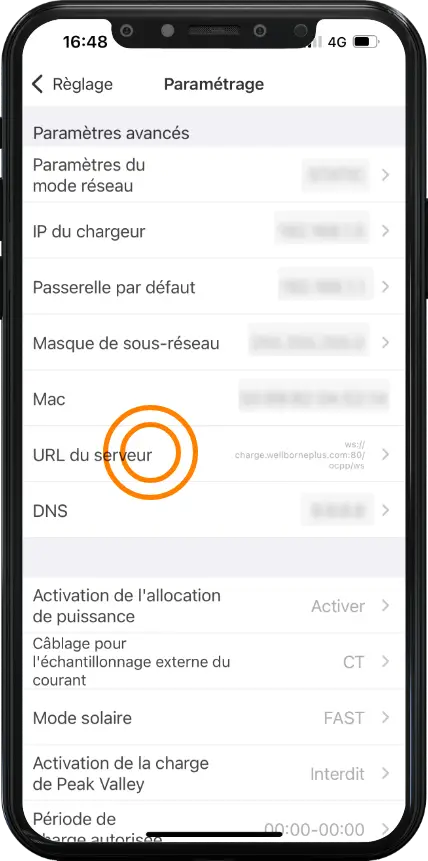
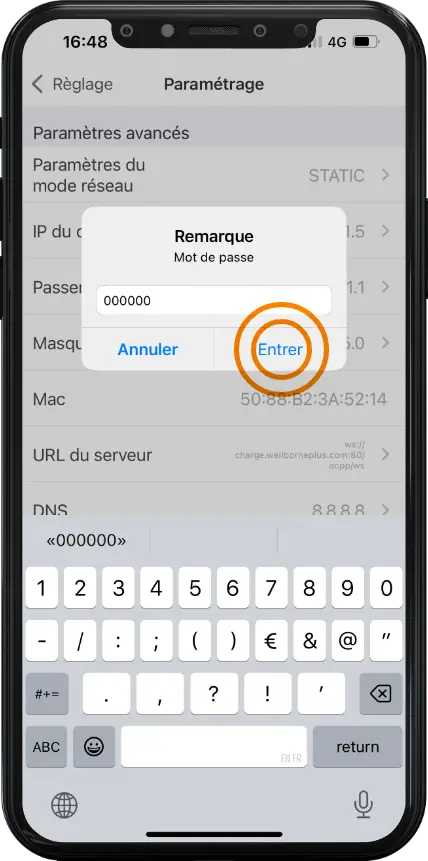
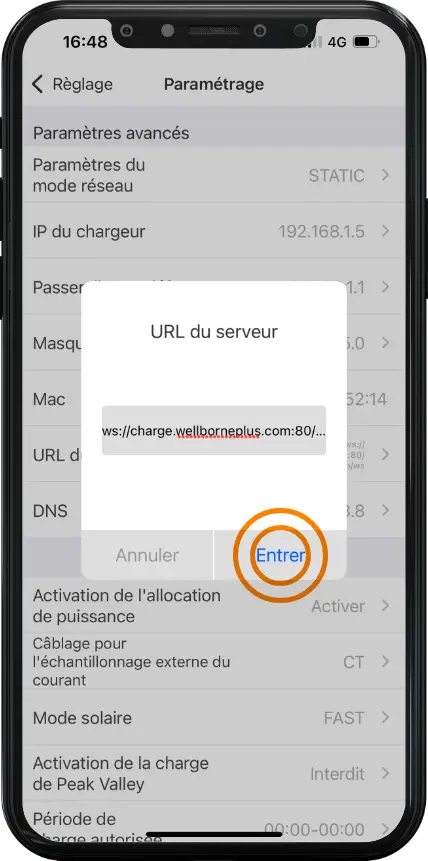
- In Advanced Settings, click on “Server URL”.
- Enter password: 000000
- Enter the exact URL: ws://charge.wellborneplus.com:80/ocpp/wsNB: Please check that the address is correct before entering it.
- You can exit the WB Charge application.
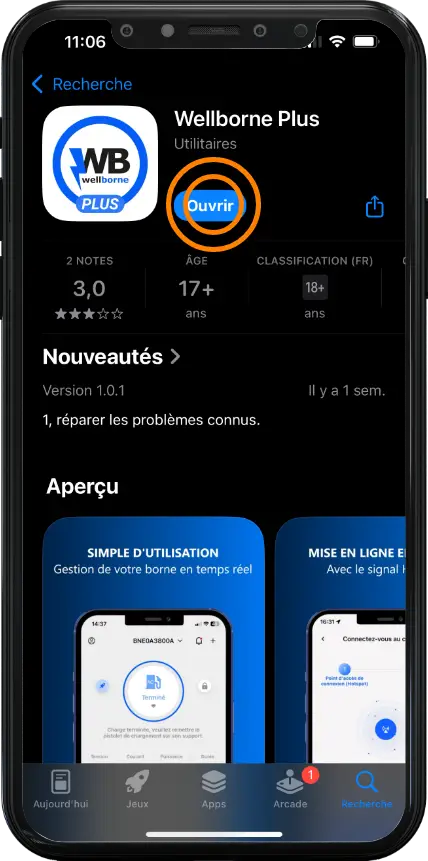
- Install and open the Wellborne Plus application.
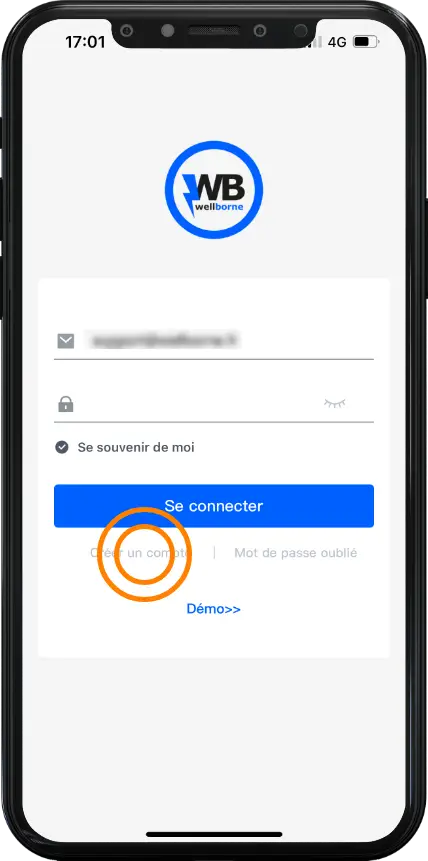
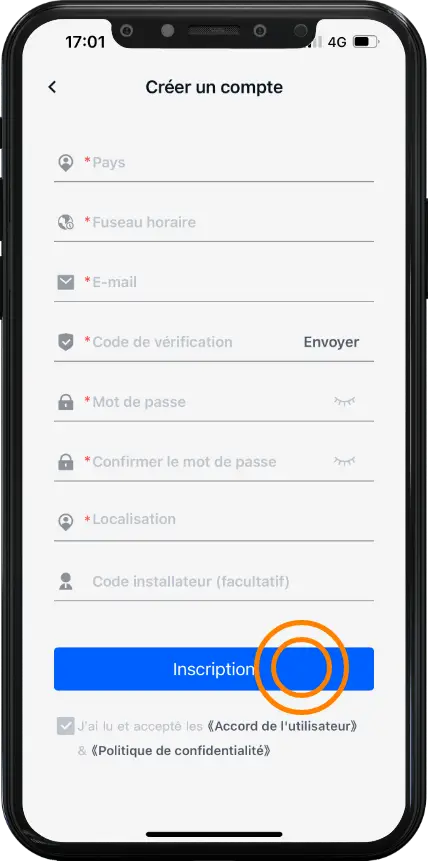
- Create an account.
- Once you’ve entered your details, click on “Register”.
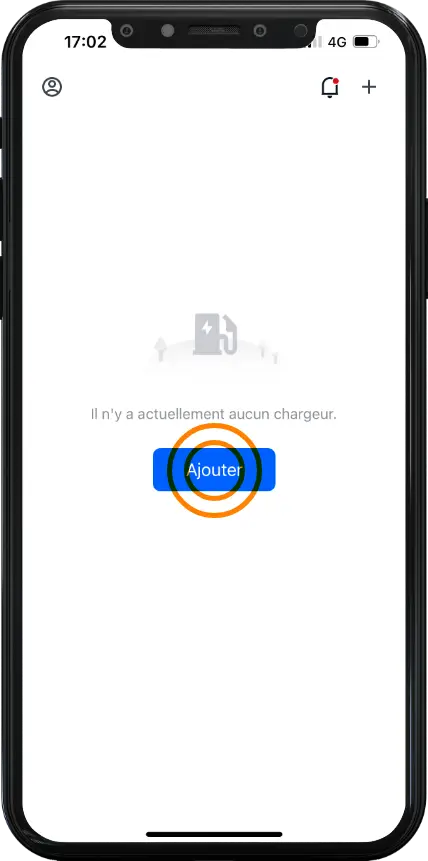
- To add a charger, press “Add”.
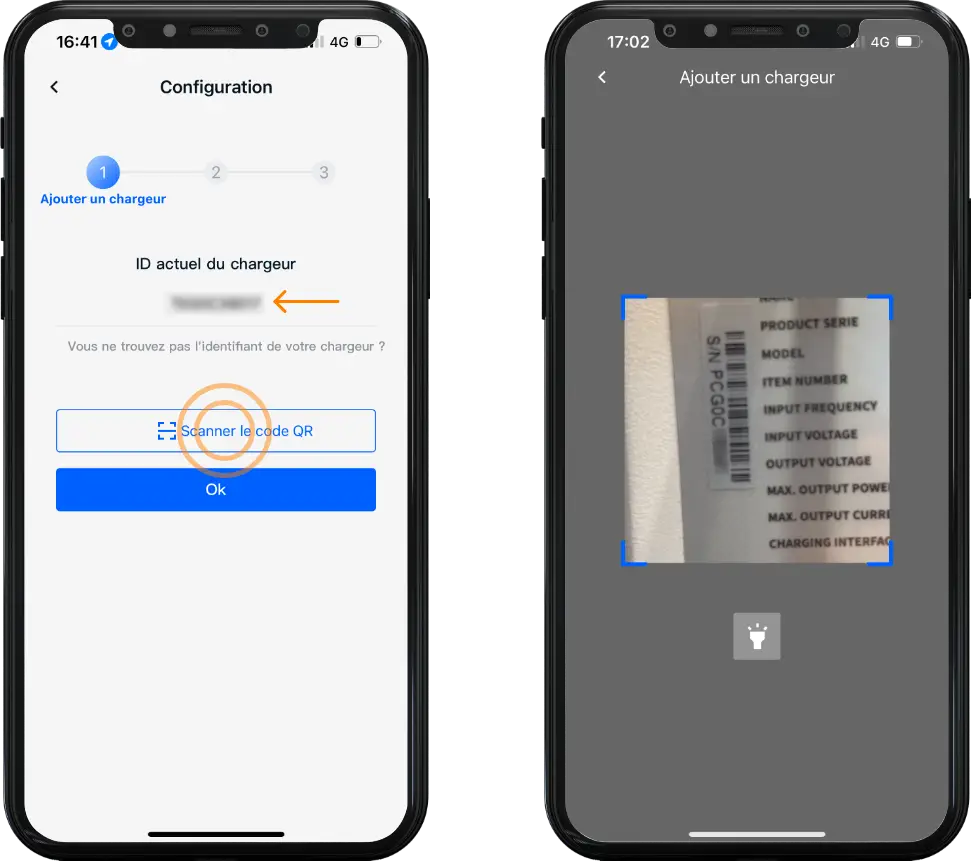
- You can enter your charger’s serial number manually under “Current charger ID” or scan the side data plate by pressing “Scan QR code”. Then press “OK”.
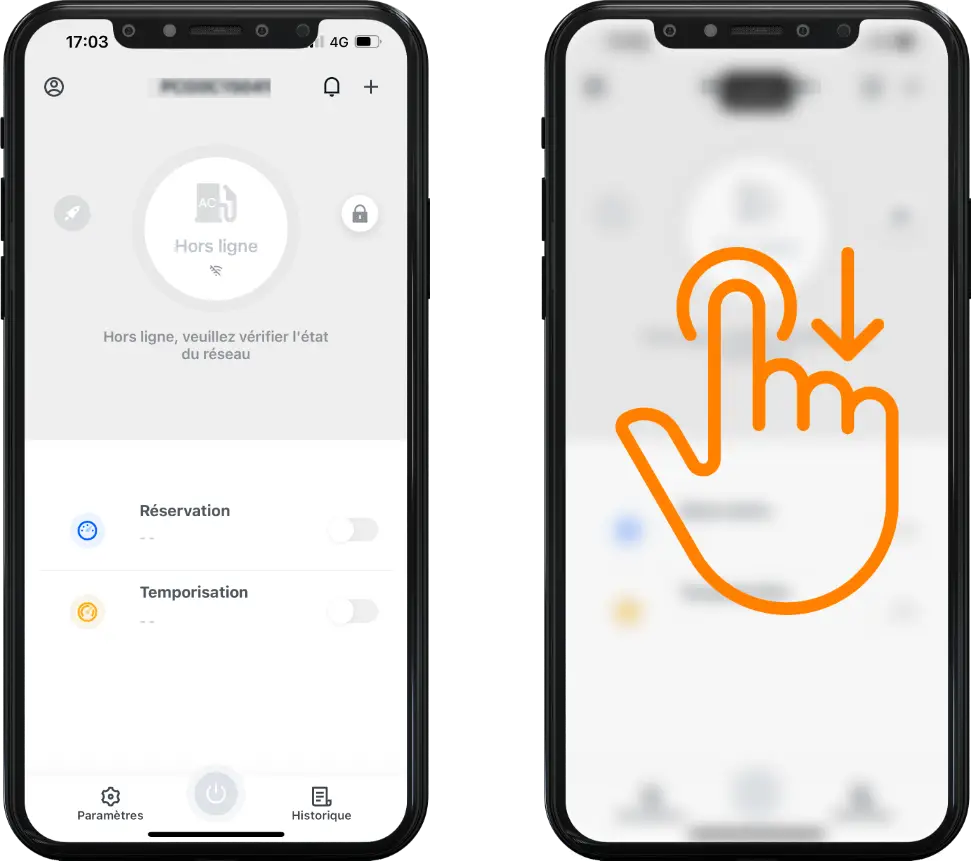
- Swipe down to refresh your charger status.
- Migration is now complete and your charger appears as available. You can start using your charger with the Wellborne Plus application.
Connecting a terminal via Wi-Fi #
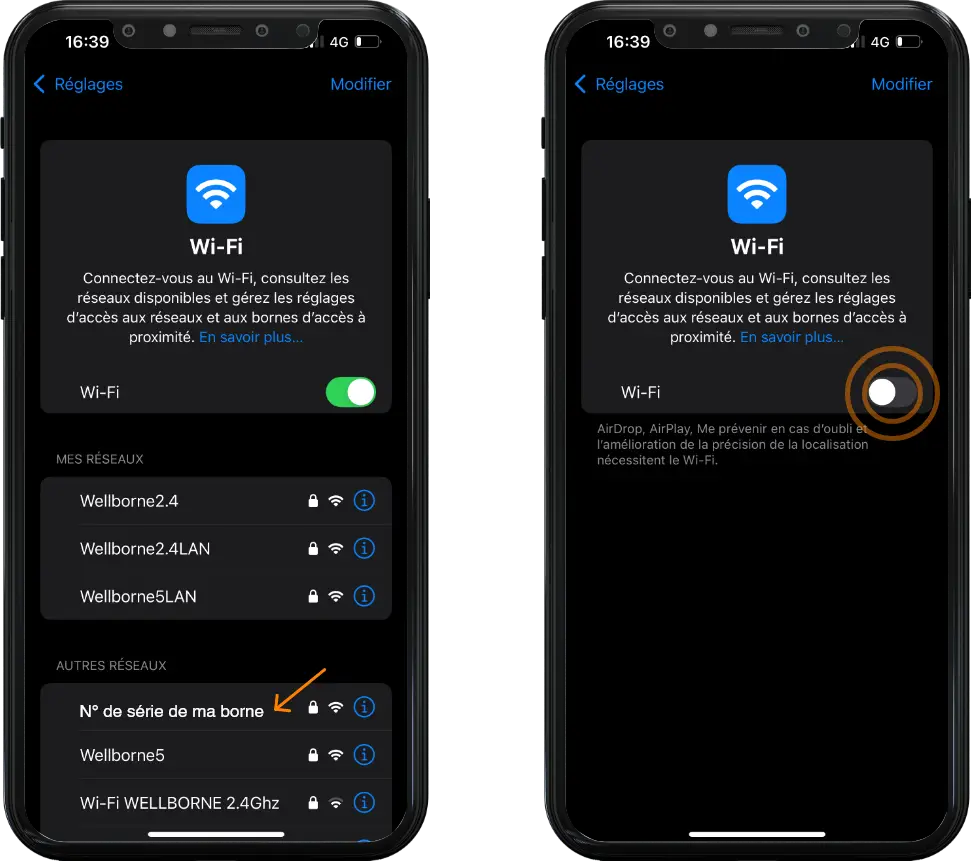
- Before starting the procedure, make sure the charger’s hotspot mode is activated. To activate the hotspot signal, please restart your terminal using the internal circuit breaker or, if necessary, upstream at your main switchboard. The hotspot signal will be active for 5 minutes from the moment the terminal is restarted. Check that the charger appears in your smartphone’s list of Wi-Fi networks, then deactivate Wi-Fi.
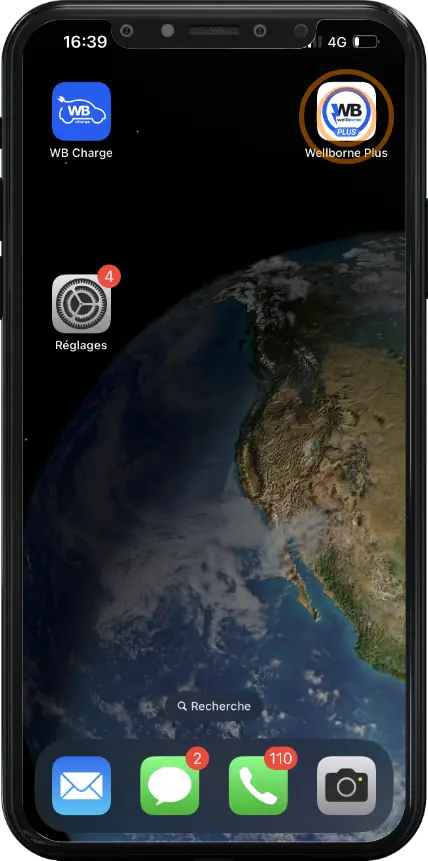
- Open the Wellborne Plus application.
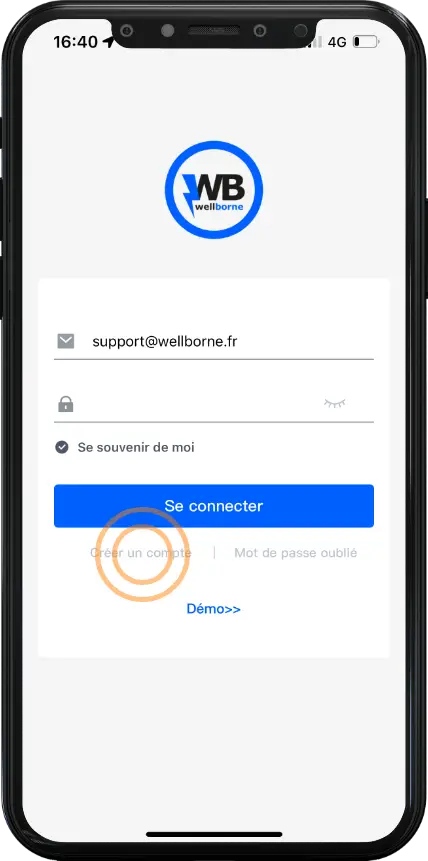
- Click on “Create an account”.
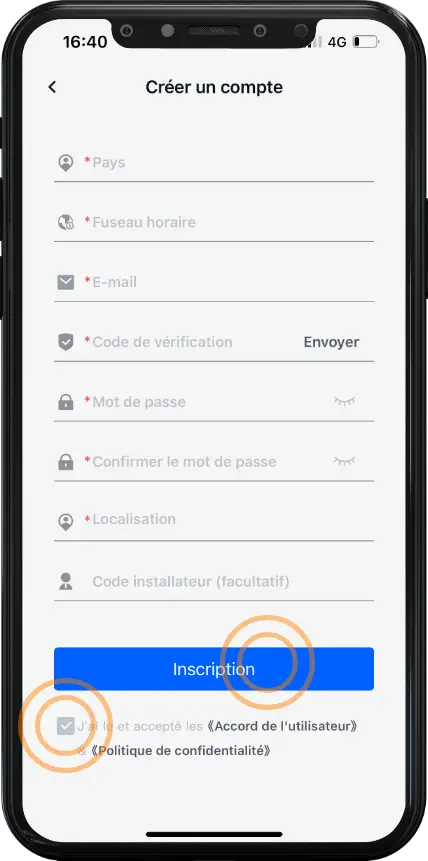
- Once you have entered your details, please accept the T&Cs and press “Register”.
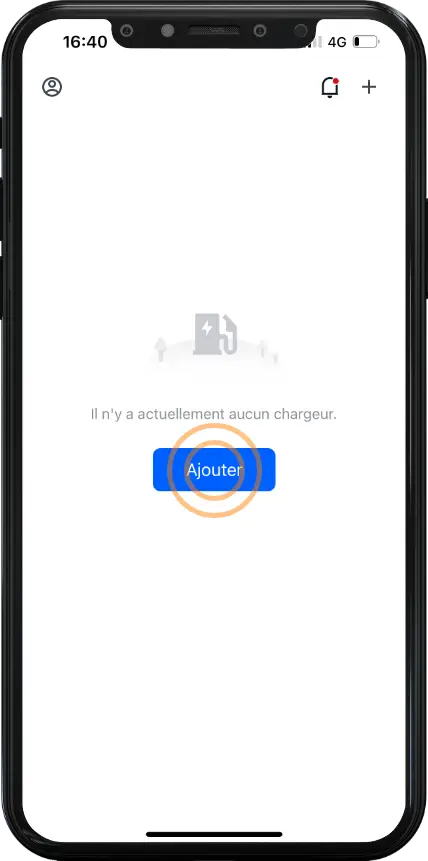
- To add a terminal, press “Add”.
- You can enter your charger’s serial number manually under “Current charger ID” or scan the side data plate by pressing “Scan QR code”. Then press “OK”.
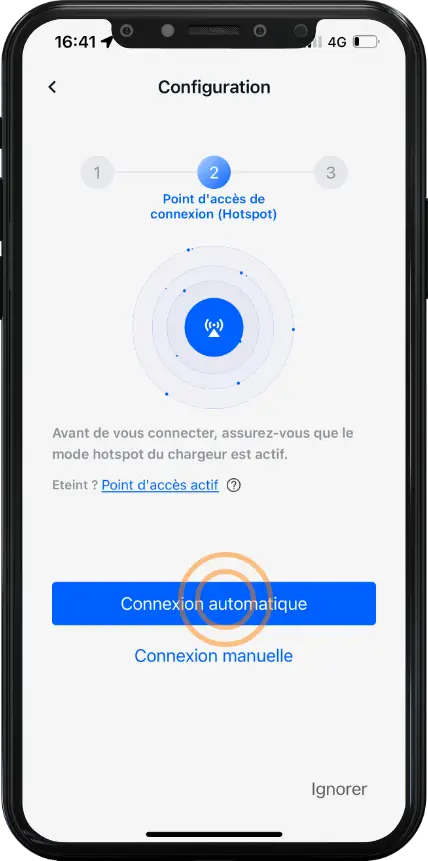
- Press “Automatic connection”.
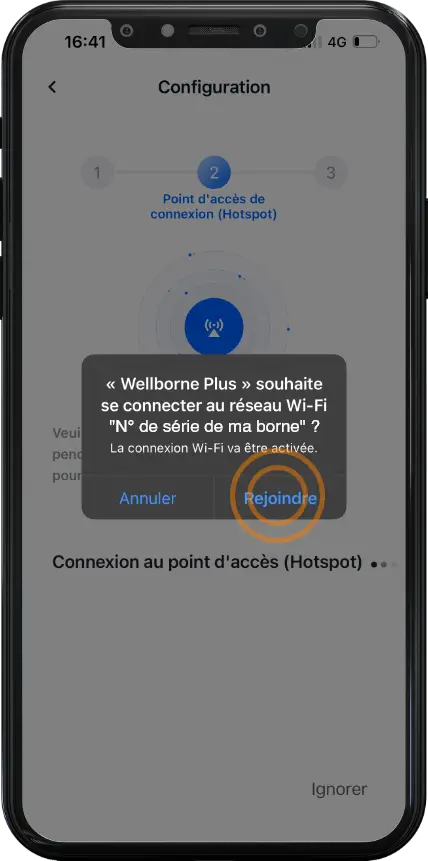
- A message will appear inviting you to connect Wellborne Plus to your terminal’s Wi-Fi network. Press “Join” to establish the connection.
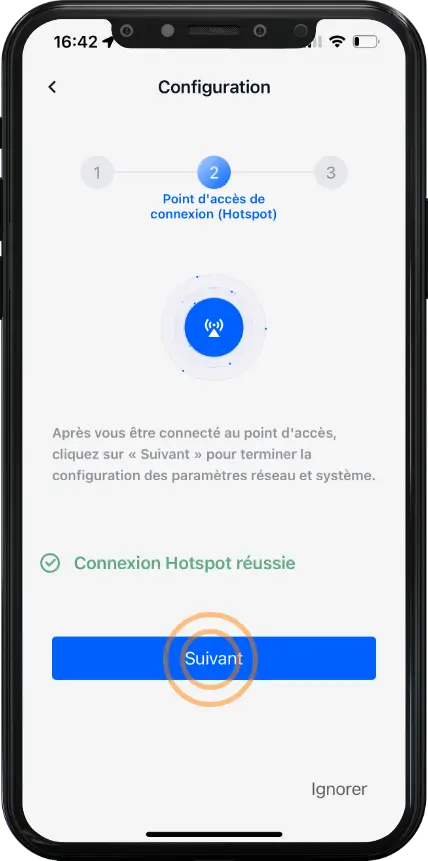
- To continue configuration, press “Next”.
- CAUTION: DO NOT PRESS “OK” AT THE END OF THIS STEP. YOU CAN PRESS “OK” AT THE END OF STEP 12, AFTER CHECKING THAT THE WIFI INFO AND SERVER URL HAVE BEEN ENTERED AS REQUESTED.
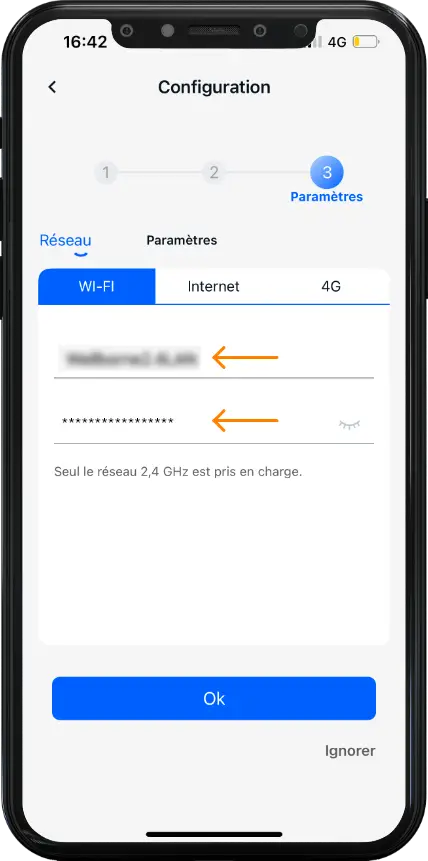
Enter your network name and password.
NB: Only 2.4 GHz networks are supported.
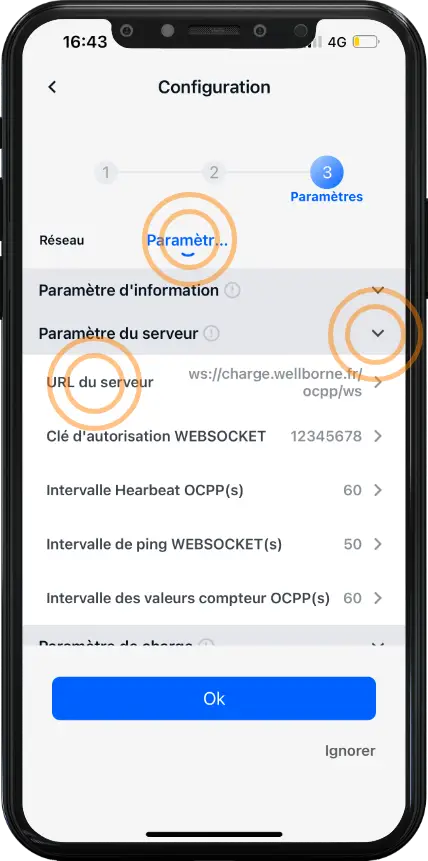
- CAUTION: DO NOT PRESS “OK” AT THE END OF THIS STEP. YOU CAN PRESS “OK” AT THE END OF STEP 12, AFTER CHECKING THAT THE WIFI INFO AND SERVER URL HAVE BEEN ENTERED AS REQUESTED. Go to the “Settings” tab, open “Server settings” and click on“Server URL“.
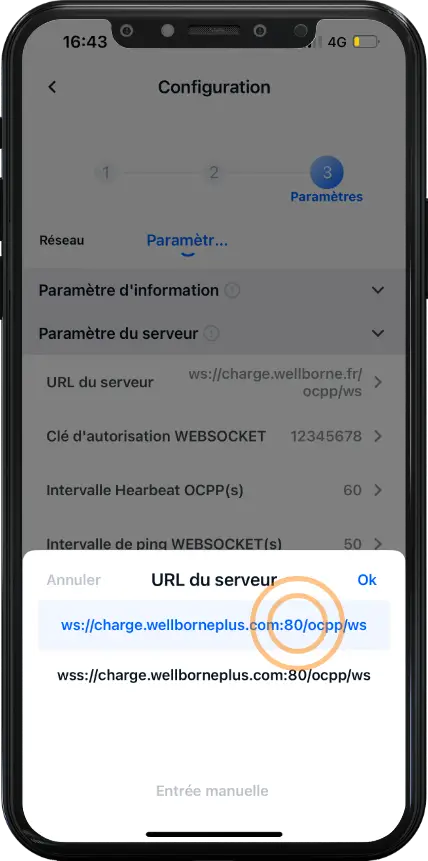
- Select the link with the following address, then press“Ok”:
ws://charge.wellborneplus.com:80/ocpp/ws
You can confirm the configuration by pressing“OK“.
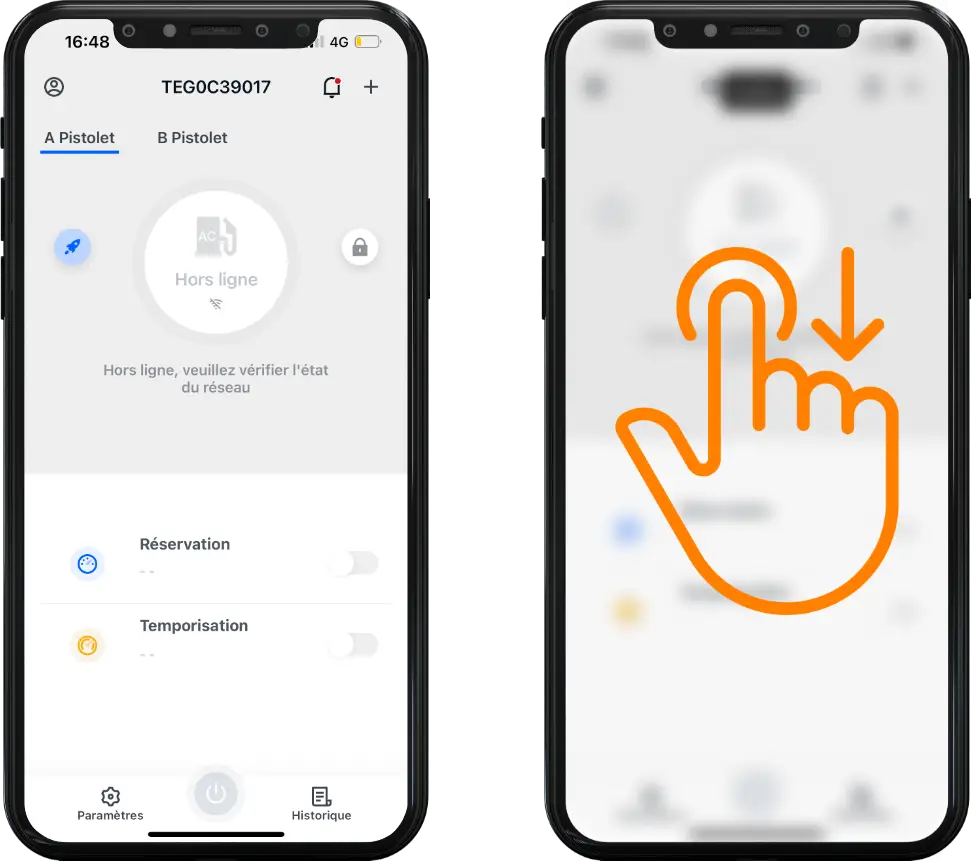
- Swipe down to refresh.
- Your terminal is now online.

